To do this, select the individual (one person) to be the focus of the tree. Select, from the People button (1), and select the Individual (2)
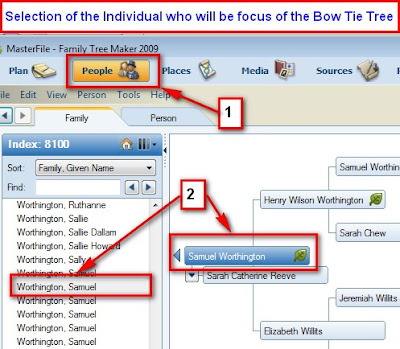
Figure 69
Now select the Publish button (1), and the desired Chart. In this case, the Bow Tie Chart (2) from the Collection and click on Create Chart/Tree (3)
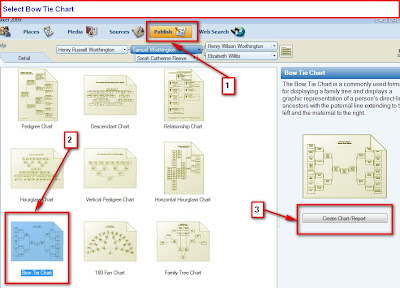
Figure 70
The first version of the Bow Tie Chart indicates 2 Pages. For this example, a One Page Chart is what is needed. The 2 pages are indicated on the top part of the Chart and the bar across the screen (2 pages). Will reduce the Number of Generations from 4 to 3 (1) and will add the Background (2).
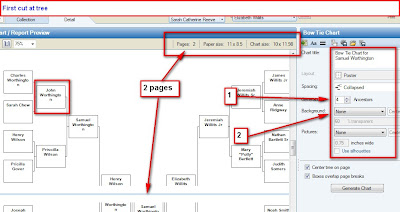
Figure 71
Reducing the number of generations allowed the Chart to be on one page.
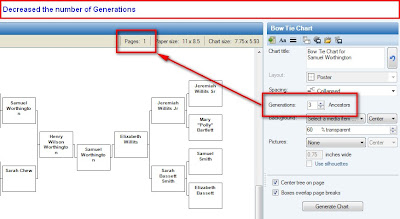
Figure 72
Clicking on the "Aa" ICON at the top of the Right Pane will bring up a Font screen. as indicated below. Please note the "n" not being on the same line as the rest of the surname.
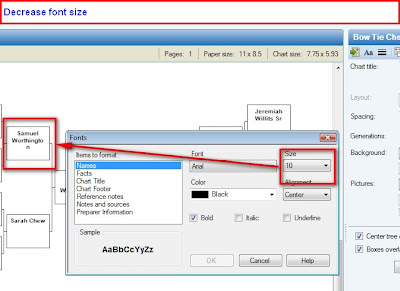
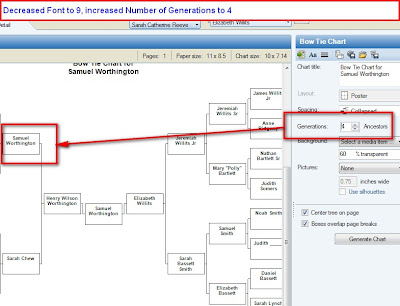
Figure 73
Figure 74
Reducing the font size to 9, allowed the number of Generations to be reset to 4. The changes continues to allow the Chart to be on one page..
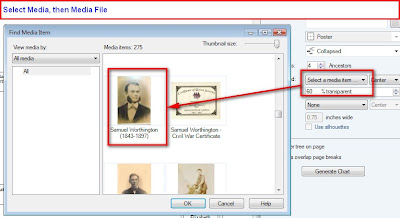
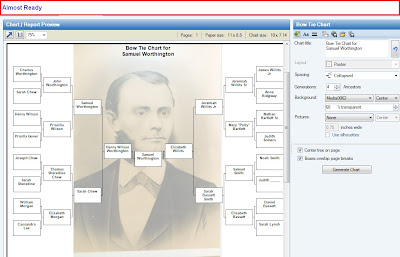
By selecting the Background button, a pull down menu will appear. There are background options available. The last menu option is Select Media. The media files, pictures will be displayed from which to select.
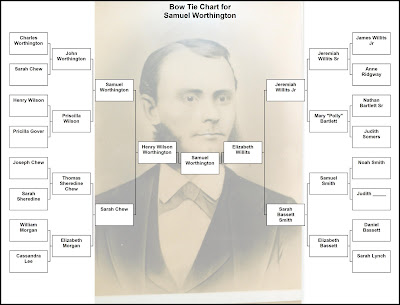
This can be Printed by clicking on the Print ICON. There are Share options available to Export the Chart in a number of formats. The final images is a JPG file.
